Eliminate Video Call Echo: No New Equipment Needed
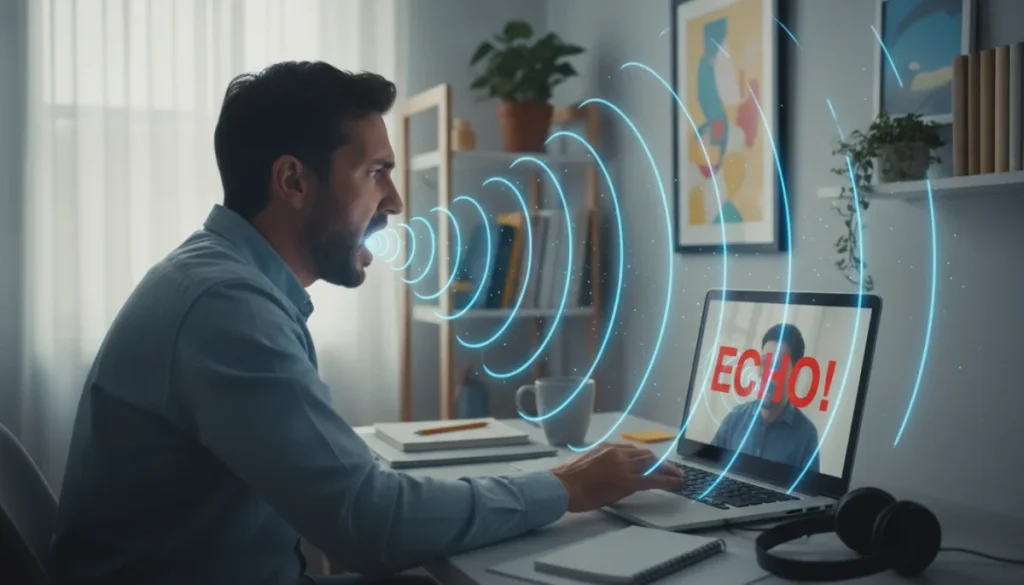
Effectively reduce echo during video calls without purchasing new equipment by optimizing your physical environment, adjusting software settings, and refining microphone usage for clearer communication.
Are you tired of your voice bouncing back at you during important online meetings or casual chats with friends? Learning how to reduce echo during a video call without buying new equipment is a common challenge for many, especially as remote work and virtual connections become the norm. The good news is that you don’t necessarily need to invest in expensive gadgets to achieve clearer audio. Often, simple adjustments to your environment, software settings, and microphone technique can make a significant difference, transforming your echo-filled calls into crisp, professional-sounding conversations.
Understanding the Root Causes of Video Call Echo
Before diving into solutions, it’s crucial to understand why echo occurs in the first place. Echo on video calls is typically a result of your microphone picking up audio that’s being played through your speakers. This creates a feedback loop, where your voice (or others’ voices) travels from your speakers, gets captured by your microphone, and is then sent back into the call, creating a delayed, repeating sound. Several factors contribute to this phenomenon, from your physical environment to software configurations.
One primary culprit is an acoustically “live” room. Spaces with hard surfaces like bare walls, large windows, and minimal furniture tend to reflect sound waves, causing them to bounce around before reaching your microphone. This reverberation is often perceived as an echo. Another common cause is the volume level of your speakers; if they are too loud, the sound easily bleeds into your microphone. Additionally, the type and placement of your microphone can play a significant role, as can the audio processing capabilities of your video conferencing software.
Identifying the specific cause in your setup is the first step toward finding an effective, no-cost solution. By pinpointing whether it’s an environmental issue, a software setting, or a hardware interaction, you can apply targeted fixes that truly make a difference in your audio quality.
Ultimately, echo is a symptom of sound leakage and reflection within your audio setup. Addressing these underlying issues, rather than just masking the problem, will lead to the most sustainable improvements for your video calls.
Optimizing Your Physical Environment for Better Acoustics
Your surroundings play a massive role in how sound behaves during a video call. A room filled with hard, reflective surfaces is an echo chamber waiting to happen. Fortunately, you can significantly improve your room’s acoustics without buying specialized soundproofing equipment. The goal is to introduce soft materials that absorb sound waves, preventing them from bouncing around and causing echo.
Introducing Sound-Absorbing Materials
Think about where sound might be reflecting. Large, bare walls are prime offenders. Adding soft furnishings can make a substantial difference. Consider placing rugs or carpets on hard floors to absorb sound that would otherwise reflect upwards. Curtains or drapes on windows, especially thick ones, can also act as excellent sound dampeners. Even a simple blanket hung on a wall behind your desk can help.
- Rugs and Carpets: Cover hard flooring to minimize sound reflection from below.
- Curtains and Drapes: Use thick fabrics on windows to absorb sound and reduce reverberation.
- Upholstered Furniture: Sofas, armchairs, and even large cushions can soak up sound waves.
- Bookshelves and Decor: Irregular surfaces break up sound waves, preventing direct reflections.
Even soft objects like pillows, blankets, or clothes can be strategically placed to absorb sound. For example, if you’re in a smaller room, consider placing a few pillows on your desk or even hanging a blanket over a nearby chair. These small adjustments cumulatively reduce the amount of sound reflecting back into your microphone.
By consciously adding soft elements to your calling space, you create a more acoustically “dead” environment, meaning sound has fewer hard surfaces to bounce off. This directly translates to less echo and clearer audio for everyone on your call.

Adjusting Your Software Settings and Application Preferences
Beyond your physical environment, the software you use for video calls often has built-in settings that can help mitigate echo. Many popular platforms include features designed to suppress background noise and cancel echo, which can be incredibly effective when properly configured.
Leveraging Built-in Echo Cancellation
Most video conferencing applications, such as Zoom, Microsoft Teams, Google Meet, and Skype, offer audio settings that allow you to manage echo. Look for options like “Echo Cancellation,” “Noise Suppression,” or “Advanced Audio Settings.” These features use algorithms to detect and filter out repetitive sounds, including echoes. Ensure these settings are enabled and, if adjustable, set to a higher level of suppression, especially if you’re experiencing significant echo.
- Check Audio Input/Output: Confirm your microphone and speaker selections are correct within the application.
- Enable Noise Suppression: Turn on any available noise suppression or echo cancellation features.
- Adjust Microphone Sensitivity: Lowering your microphone’s input sensitivity can prevent it from picking up speaker output.
- Update Software: Keep your video conferencing application updated, as newer versions often include improved audio processing.
It’s also worth checking your operating system’s sound settings. On Windows, you can access Sound settings via the Control Panel or Settings app, where you can adjust microphone levels and sometimes find options for acoustic echo cancellation. macOS has similar settings under System Preferences > Sound.
Experiment with these software settings. Sometimes, a combination of enabling echo cancellation and slightly lowering your microphone input volume can strike the perfect balance for clear audio without any additional hardware investment. Remember that the optimal settings might vary slightly between different applications and even different calls.
Strategic Microphone and Speaker Placement
The physical relationship between your microphone, speakers, and even your mouth can dramatically impact echo. Incorrect placement is a very common cause of echo, and it’s one of the easiest to fix without spending a dime.
Minimizing Sound Leakage
The golden rule is to prevent the sound coming from your speakers from entering your microphone. The most effective way to do this is by using headphones or earbuds. When you wear headphones, the sound goes directly into your ears, bypassing your microphone entirely. This completely breaks the feedback loop and is often the single most impactful solution to echo.
- Use Headphones/Earbuds: This is the most effective way to prevent speaker audio from being picked up by your microphone.
- Speaker Volume: If not using headphones, lower your speaker volume to the lowest comfortable level.
- Microphone Proximity: Keep your microphone close to your mouth, but not so close that it picks up breath sounds. This allows you to speak softly while still being heard clearly, reducing the need for high speaker volume.
- Microphone Direction: If your microphone has a directional pickup pattern (like a cardioid mic), ensure it’s pointed directly at you and away from your speakers.
If headphones aren’t an option, ensure your speakers are positioned away from your microphone and that their volume is kept as low as possible while still being audible to you. Furthermore, speaking directly into your microphone allows you to lower its gain, meaning it’s less likely to pick up ambient room noise and speaker output. Good microphone technique is a free skill that pays dividends in audio clarity.
Utilizing Your Computer’s Built-in Audio Tools
Your computer, whether a desktop or a laptop, comes equipped with its own set of audio controls that can be fine-tuned to combat echo. These system-level settings work in conjunction with your video conferencing software to create a comprehensive audio profile.
System-Level Audio Configuration
Both Windows and macOS offer robust sound settings. On Windows, navigate to ‘Sound Settings’ (right-click the speaker icon in the taskbar) and then ‘Sound Control Panel.’ Here, you can adjust microphone levels, boost options, and sometimes find an ‘Enhancements’ tab that includes ‘Acoustic Echo Cancellation’ or ‘Noise Suppression.’ Experiment with these checkboxes; enabling them can dramatically reduce echo. Be cautious with ‘Microphone Boost,’ as it can sometimes introduce more background noise or distortion if set too high.
For macOS users, ‘System Settings’ (or ‘System Preferences’ on older versions) > ‘Sound’ > ‘Input’ allows you to select your microphone and adjust its input volume. While macOS doesn’t always have explicit echo cancellation options at the system level, managing the input volume effectively can prevent your microphone from being overly sensitive to sounds from your speakers. Ensure your chosen microphone is the default input device for clarity.
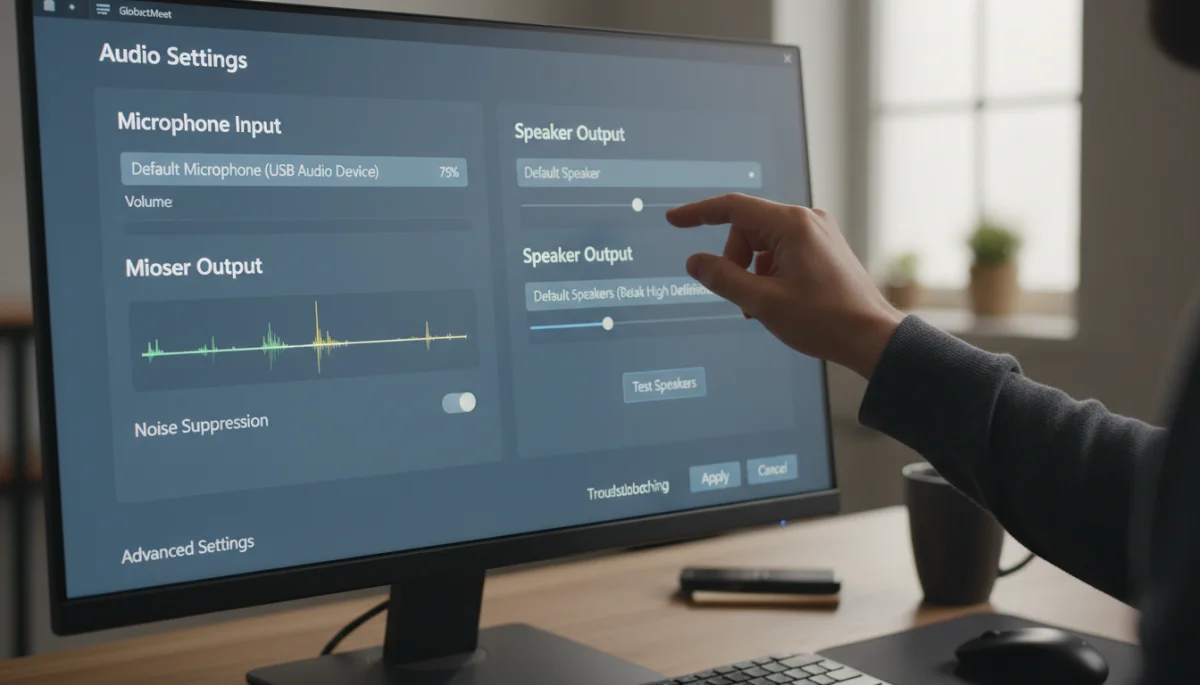
It’s important to remember that these system settings act as a baseline for all applications. Changes here will affect how your microphone performs across all software, not just your video call app. Therefore, finding a balanced setting that works well universally can save you from constant adjustments within individual applications. Always test your audio after making changes to ensure you haven’t introduced new issues.
Leveraging these often-overlooked built-in tools can provide a powerful, free solution to persistent echo problems, creating a more stable and professional audio environment for all your online interactions.
Testing and Troubleshooting Your Audio Setup
After making adjustments, it’s essential to test your audio setup to confirm that the echo has been reduced or eliminated. What sounds good to you might not sound good to others, so a proper test is crucial. This proactive approach ensures your next video call is free of audio distractions.
Effective Audio Testing Techniques
Most video conferencing platforms offer an audio test feature before joining a meeting. Utilize this. Speak naturally, listen to the playback, and pay close attention to any remaining echo or unwanted noise. If the platform doesn’t have a built-in test, you can record a short audio clip using your computer’s voice recorder (e.g., Voice Recorder on Windows, Voice Memos on macOS) and play it back. This allows you to hear exactly what others would hear.
- Use Platform’s Test Feature: Always run the audio test provided by your video call software.
- Record and Playback: Use your computer’s sound recorder to capture your voice and listen for echo.
- Ask a Friend: Conduct a brief test call with a trusted friend and ask for honest feedback on your audio quality.
- Isolate Variables: When troubleshooting, change only one setting at a time to identify the source of the problem or solution.
If echo persists, systematically review the changes you’ve made. Did you introduce enough soft furnishings? Are your software’s echo cancellation features enabled? Is your microphone positioned optimally? Sometimes, simply restarting your computer or the application can resolve minor glitches. Don’t be afraid to revert settings one by one to their defaults if you feel you’ve made things worse, and then rebuild your optimal setup systematically.
Consistent testing and a methodical approach to troubleshooting will empower you to maintain a high-quality audio experience for all your video calls, ensuring clear communication without the need for new equipment.
Communicating with Participants and Best Practices
Even with a perfectly optimized setup, sometimes echo can originate from other participants or be an unavoidable artifact of complex multi-user calls. Knowing how to manage these situations and adopting best practices can significantly improve the overall call experience for everyone involved.
Collaborative Echo Management
If you’ve done everything on your end and still hear echo, it might be coming from another participant. Don’t hesitate to politely ask others to check their audio settings, especially if you notice a specific person’s audio creating the echo. Suggesting they use headphones or enable their application’s echo cancellation can be very helpful. Most people are unaware they are causing an issue, and a gentle reminder is often all that’s needed.
- Politely Suggest Headphones: If another participant is causing echo, suggest they use headphones.
- Mute When Not Speaking: Encourage all participants to mute their microphones when not actively speaking. This is a universal best practice.
- Keep Background Noise Low: Advise participants to be mindful of their own environments and minimize background noise.
- Understand Call Dynamics: Be aware that in very large calls, occasional echo or audio artifacts can be harder to completely eliminate due to network latency and multiple audio streams.
Another crucial best practice is to mute your own microphone when you are not speaking. This simple habit prevents any potential sound from your environment, or even subtle feedback from your own speakers, from re-entering the call. It also reduces overall background noise for other participants. Educating yourself and others on these simple etiquette rules can collectively enhance the quality of all video calls.
By combining personal optimization with collaborative best practices, you contribute to a more pleasant and productive video calling environment, ensuring that echo is minimized for everyone involved.
| Key Strategy | Brief Description |
|---|---|
| Environmental Acoustics | Add soft furnishings like rugs, curtains, and pillows to absorb sound reflections. |
| Software Settings | Enable built-in echo cancellation and noise suppression in your video call app and OS. |
| Microphone/Speaker Placement | Use headphones, keep speaker volume low, and position mic close to mouth. |
| Testing & Troubleshooting | Regularly test audio, record voice clips, and ask for feedback to refine settings. |
Frequently Asked Questions About Video Call Echo
Echo typically occurs when your microphone picks up sound from your speakers, creating a feedback loop. This can be due to hard room surfaces reflecting sound, high speaker volume, or inadequate echo cancellation in your software settings. Environmental factors play a major role.
The most effective and simplest method is to use headphones or earbuds. This directs audio directly into your ears, preventing it from being picked up by your microphone and breaking the feedback loop that causes echo. It’s a free and immediate solution.
Yes, bare rooms with hard surfaces reflect sound, creating echo. You can fix this by adding soft furnishings like rugs, curtains, upholstered furniture, or even strategically placed blankets to absorb sound waves and reduce reverberation without any cost.
Absolutely. Most video call applications (Zoom, Teams, Meet) have built-in echo cancellation and noise suppression features. Ensure these are enabled in your audio settings. Also, check your operating system’s sound settings for microphone input levels and acoustic enhancements.
Politely suggest they check their audio settings or use headphones. Encourage all participants to mute their microphones when not speaking. This collective effort significantly improves overall audio quality and minimizes echo for everyone on the call.
Conclusion
Mastering how to reduce echo during a video call without buying new equipment is entirely achievable with a strategic approach to your environment and existing tools. By understanding the causes of echo and implementing simple, no-cost adjustments—from optimizing your room’s acoustics with everyday items to fine-tuning software settings and practicing good microphone etiquette—you can transform your audio quality. The key lies in preventing speaker sound from re-entering your microphone, whether through headphones, careful placement, or digital suppression. These practical steps not only enhance your personal calling experience but also contribute to clearer, more professional communication for everyone involved, proving that effective solutions don’t always require a financial investment.
